What to Expect During a New HVAC Installation: A Comprehensive Guide
Investing in a new HVAC system is one of the most significant decisions a homeowner can make for their property’s long-term comfort and efficiency. Whether you have noticed the tell-tale signs that it is time for an AC replacement—such as rising energy bills, frequent repairs, or an aging unit over 10-15 years old—understanding the installation process is key to a smooth transition.
When working with a Trane Comfort Specialist, you are choosing a professional who has met stringent standards for technician certification and customer satisfaction. Here is a detailed look at what you can expect during the journey of a new HVAC installation.
-
The Pre-HVAC Installation Assessment
Before a single tool is lifted, a professional HVAC installation begins with a thorough evaluation of your home. An authorized Trane Comfort Specialist will not simply swap an old unit for a new one; they perform a detailed load calculation to ensure the new system is perfectly sized for your specific square footage and layout.
During this phase, the certified Trane technician will also inspect your existing infrastructure. This includes checking ductwork for leaks or blockages and ensuring that your electrical panel can support the power requirements of a modern, high-efficiency system. This assessment is vital because even the best Trane products cannot perform to their rated SEER2 (Seasonal Energy Efficiency Ratio) levels if the home’s “envelope” is compromised.
-
Preparation and Protection
On the day of your HVAC installation, your Trane Comfort Specialist will prioritize the protection of your home. Expect the crew to lay down floor coverings and drop multiple cloths or towels in high-traffic areas to prevent tracks and debris.
The first technical step involves the safe removal of your old equipment. For air conditioning systems, this requires the professional recovery of refrigerant according to EPA regulations. This is a critical step that must be handled by certified professionals to ensure no harmful gases are released into the atmosphere. The old outdoor condenser and indoor evaporator coil or furnace will then be dismantled and hauled away for proper disposal.
-
Setting the New Equipment
Once the workspace is clear, the HVAC installation of the new Trane equipment begins. This typically involves two main areas of the home:
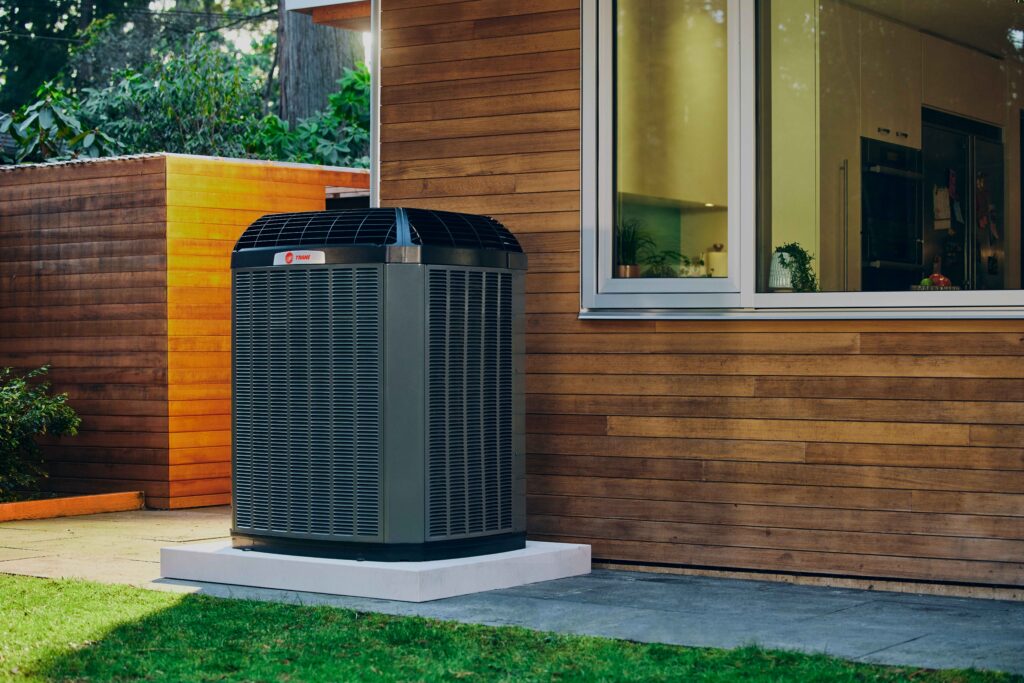
- The Outdoor Unit: The new condenser is placed on a level composite or concrete pad. Proper leveling is essential to prevent vibration and ensure that the oil within the compressor remains distributed correctly.
- The Indoor Unit: Depending on your home’s configuration, the indoor unit (an air handler or a furnace) is installed in your attic, closet, or crawlspace. If you are undergoing a furnace replacement, the team will ensure all gas lines and exhaust venting are secured and meet current safety codes to prevent carbon monoxide risks.
-
Integration and Connectivity
With the major components in place, the team begins the intricate work of “connecting” the system. This includes:
- Refrigerant Lines: New copper lines are typically installed, or existing ones are thoroughly flushed to ensure compatibility with modern refrigerants.
- Electrical Wiring: Technicians will connect the high-voltage power to the units and the low-voltage wiring to your thermostat.
- Drainage: A new condensate drain line is installed to ensure that the moisture removed from your air during the cooling process is safely directed away from your home’s foundation.
-
The Use of OEM Parts
One of the most important aspects of a professional installation is the use of Original Equipment Manufacturer (OEM) parts. Choosing HVAC OEM parts ensures that every component—from the smallest screw to the most complex circuit board—is designed specifically for your Trane unit. These parts are built to exact specifications, ensuring that the system operates at peak efficiency and maintains the integrity of your manufacturer’s warranty.
-
System Testing and Calibration
Once the physical HVAC installation is complete, the “commissioning” phase begins. The technicians will charge the system with the precise amount of refrigerant required and perform a series of tests. They will check the airflow at various vents, measure the temperature drop across the coils, and test the furnace’s ignition and safety shut-off features. This ensures that the system is not just running, but running according to the manufacturer’s rigorous performance standards.
-
Homeowner Orientation and Maintenance Decoding
A quality installation ends with a walkthrough. Your Trane Comfort Specialist will show you how to operate your new thermostat, explain the features of your new system, and discuss the importance of regular furnace and AC maintenance.
Homeowners should walk away knowing the “top things” to monitor, such as changing air filters every 1-3 months and keeping the outdoor unit clear of debris. Regular maintenance is decoded not as a chore, but as the primary way to protect your new investment and prevent the need for emergency repairs in the future.
Your Trusted HVAC Installation Partner
By choosing a professional Trane dealer, you can expect a process that prioritizes safety, efficiency, and long-term comfort, ensuring your home remains a sanctuary against the Texas heat and occasional winter chills.